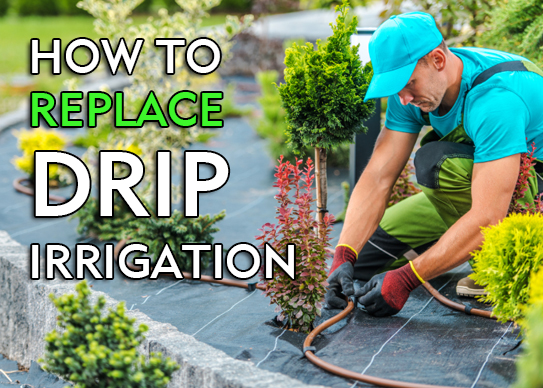
Is the drip irrigation system in your garden experiencing poor dripping? Drip irrigation systems are left outdoors all year round, and with time and use, some sprinkler heads can gradually become problematic, and this article provides a step-by-step guide on how to replace them. Hopefully, it will be a little easier for you in your practice.
Step 1: Check All Sprinkler Heads In The Drip Irrigation System
Check all sprinkler heads in your drip irrigation system for broken, clogged, and unevenly discharging sprinkler heads, record the location of the type, number of sprinkler heads that already need to be replaced.
Step 2: Make Sure Buy The Correct Replacement Sprinklers
There are different types of sprinkler, varying in size/shape and flow rate, you need to consider whether the sprinkler and your drip irrigation system are compatible. If you are unsure, it is best to consult the manufacturer before purchasing. Also, to save your time, buy extra sprinkler in advance that can be used and replaced in time in the future.
Step 3: Shutting Off The Drip System
When the sprinkler are ready, turn off the water and power to the drip irrigation system before replacing them. Prevent any unforeseen occurrences or waste of resources.
Step 4: Removal Of Old Sprinkler
Confirm the sprinklers that needs to be replaced, remove the old sprinklers from the pipe, and remove the sprinklers with the same operation as when installing it, without using too much force to avoid damaging the surrounding pipes.
Step 5: Clean The Pipes
After removing the old sprinklers, you can notice deposits or debris inside the pipe. Clean and dispose of these and rinse the pipe with running water to ensure a smooth flow of water through the pipe.
Step 6: Install New Sprinkler
After the pipes are cleaned, install a new sprinkler. Insert the new sprinkler into the pipe, be careful to use the right amount of force, too little force pipe and sprinkler can not be completely fit will cause leakage, too much force may cause damage to the pipe.
Step 7: Turn On The Faucet To Test The System
After all the new sprinklers are installed, test the overall performance of the drip irrigation system. Turn on the faucet and check each sprinkler head to make sure the water is flowing evenly and that it is installed in the right place to reach the roots of the plants.
Have you successfully replaced the sprinklers by following the steps above? If you still have other questions, welcome to contact our customer service email: nora@unionbooster.com, to provide you with more accurate answers.
